


准备 3台服务器
`172.2.17.105  devBox(管理机器,用于部署和配置环境,可以是虚拟机)`

`172.2.17.106 master(主节点)`

`172.22.17.107 worker(工作机器)`
科学上网
快帆云 (kfcloud.xyz)三台机器环境安装
1.设置源
vim /etc/apt/sources.list
deb https://mirrors.aliyun.com/ubuntu/ xenial main
deb-src https://mirrors.aliyun.com/ubuntu/ xenial main

deb https://mirrors.aliyun.com/ubuntu/ xenial-updates main
deb-src https://mirrors.aliyun.com/ubuntu/ xenial-updates main

deb https://mirrors.aliyun.com/ubuntu/ xenial universe
deb-src https://mirrors.aliyun.com/ubuntu/ xenial universe
deb https://mirrors.aliyun.com/ubuntu/ xenial-updates universe
deb-src https://mirrors.aliyun.com/ubuntu/ xenial-updates universe

deb https://mirrors.aliyun.com/ubuntu/ xenial-security main
deb-src https://mirrors.aliyun.com/ubuntu/ xenial-security main
deb https://mirrors.aliyun.com/ubuntu/ xenial-security universe
deb-src https://mirrors.aliyun.com/ubuntu/ xenial-security universe

deb [arch=amd64] https://download.docker.com/linux/ubuntu xenial stable
# deb-src [arch=amd64] https://download.docker.com/linux/ubuntu xenial stable
更新源
apt-get update安装vim
apt-get install vim安装openssh
apt-get install openssh-server安装ntp
apt-get install ntp设置ssh - root远程
vim /etc/ssh/sshd_config
#设置为yes
PermitRootLogin yes
#重启ssh
systemctl restart ssh
安装docker
apt-get remove docker docker-engine docker-ce docker.io
apt-get update
apt-get install -y apt-transport-https ca-certificates curl software-properties-common
curl -fsSL https://download.docker.com/linux/ubuntu/gpg | sudo apt-key add -
add-apt-repository "deb [arch=amd64] https://download.docker.com/linux/ubuntu $(lsb_release -cs) stable"
apt-get update
apt-get install -y docker-ce
systemctl start docke
设置docker仓库
mkdir -p /etc/docker
tee /etc/docker/daemon.json <<-'EOF'
{
  "registry-mirrors": ["https://registry.cn-hangzhou.aliyuncs.com"]
}
EOF
systemctl daemon-reload
systemctl restart docke
更新服务器软件
#解决 安装kuberstry 后 master和worker docker 起不来的问题
apt update && sudo apt upgrade -y
安装代理 ss/v2ray(二选1)
设置ss为允许其他机器连接
右键托盘ss图标,勾选允许其他设备连入设置v2ray 允许其他
https://oss.abdl.cn/v2ray2.png
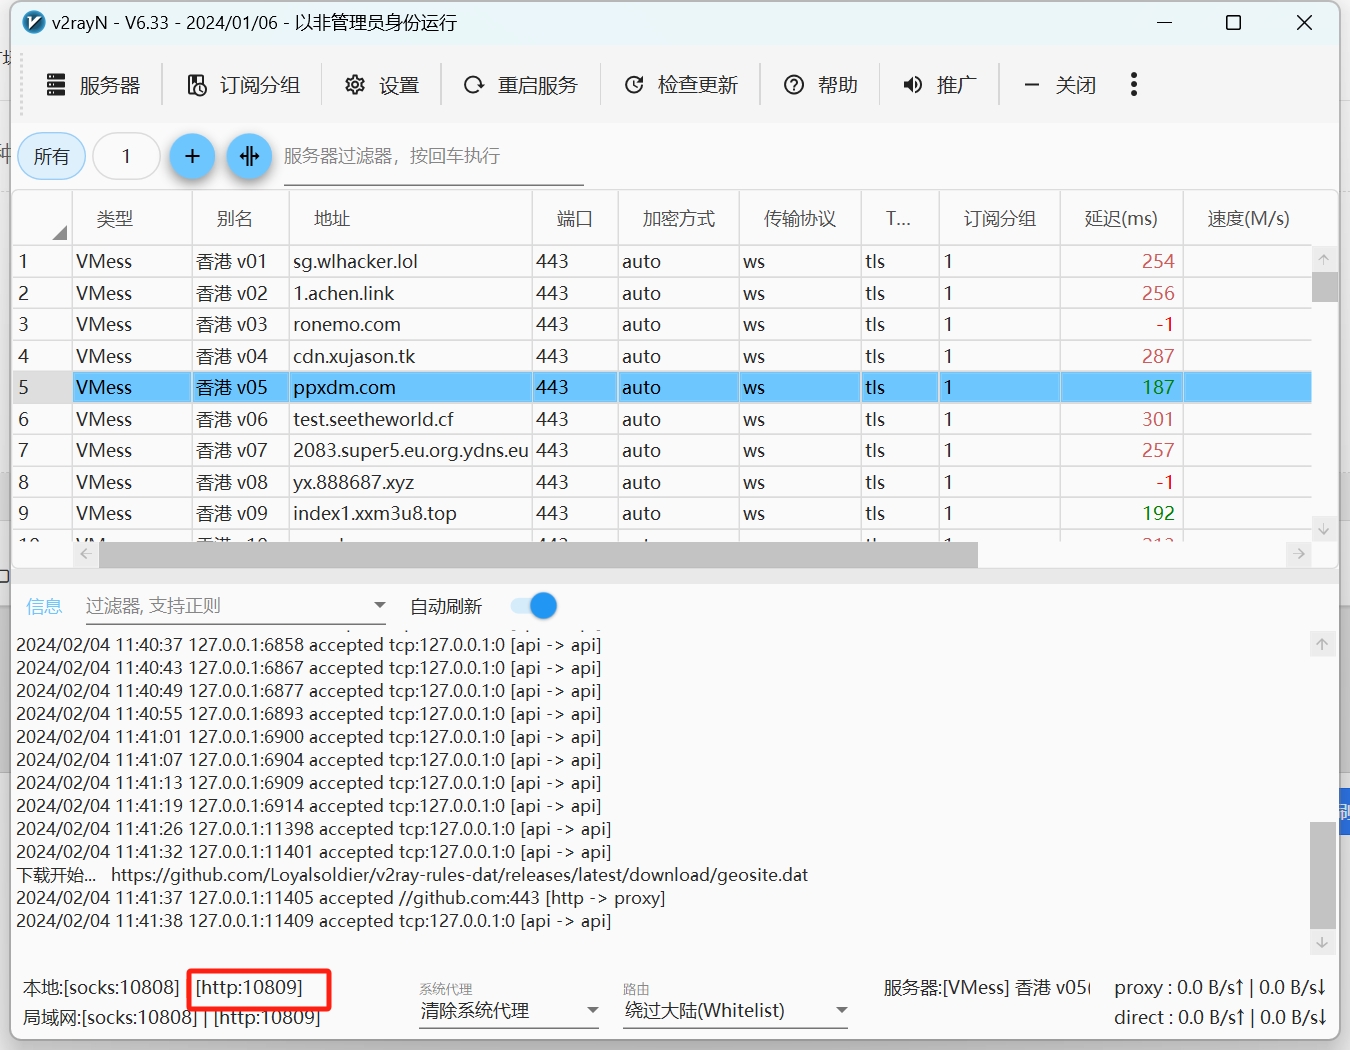
https://oss.abdl.cn/v2ray1.png
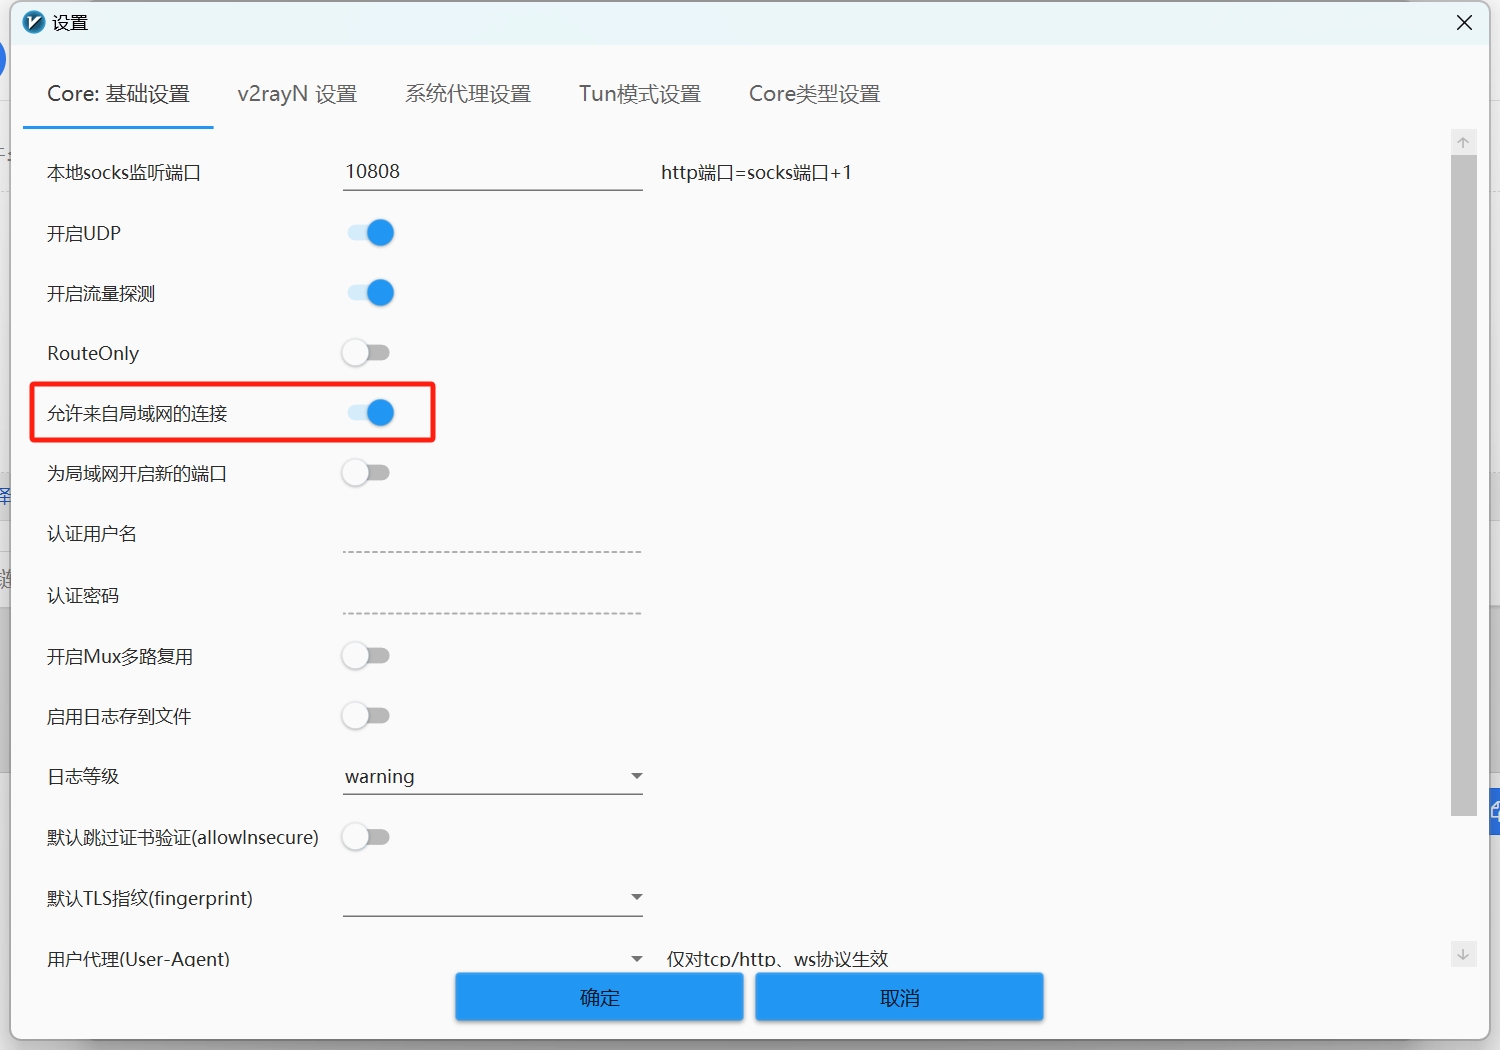
git 设置代理
git config --global http.proxy http://172.17.2.104:10809/
git config --global https.proxy http://172.17.2.104:10809/
docker 设置代理
vim /etc/systemd/system/docker.service.d/proxy.conf
##新增一下部分
[Service]
Environment="HTTP_PROXY=http://172.17.2.104:10809"
Environment="HTTPS_PROXY=http://172.17.2.104:10809/"
Environment="NO_PROXY="localhost,127.0.0.1,::1"
##重启生效
systemctl daemon-reload
systemctl restart docke
openPai官网安装指导
https://openpai.readthedocs.io/
拉取代码
git clone https://github.com/microsoft/pai.git
cd pai
git checkout v1.8.0
修改配置文件
vim contrib/kubespray/config
#编辑config.yaml
vim config.yaml
#编辑layout.yaml
vim layout.yaml
config.yaml
user: root
password: admin123
docker_image_tag: v1.8.0


mage_repo: "registry.cn-hangzhou.aliyuncs.com"
kube_image_repo: "registry.cn-hangzhou.aliyuncs.com/google_containers"

openpai_kubespray_extra_var:
  pod_infra_image_repo: "registry.cn-hangzhou.aliyuncs.com/google_containers/pause-{{ image_arch }}"
  dnsautoscaler_image_repo: "docker.io/mirrorgooglecontainers/cluster-proportional-autoscaler-{{ image_arch }}"
  tiller_image_repo: "registry.cn-hangzhou.aliyuncs.com/google_containers/kubernetes-helm/tiller"
  registry_proxy_image_repo: "registry.cn-hangzhou.aliyuncs.com/google_containers/kube-registry-proxy"
  metrics_server_image_repo: "registry.cn-hangzhou.aliyuncs.com/google_containers/metrics-server-amd64"
  addon_resizer_image_repo: "registry.cn-hangzhou.aliyuncs.com/google_containers/addon-resizer"
  dashboard_image_repo: "registry.cn-hangzhou.aliyuncs.com/google_containers/kubernetes-dashboard-{{ image_arch }}"
layout.yaml
machine-sku:
  master-machine: # define a machine sku
    # the resource requirements for all the machines of this sku
    # We use the same memory format as Kubernetes, e.g. Gi, Mi
    # Reference: https://kubernetes.io/docs/concepts/configuration/manage-resources-containers/#meaning-of-memory
    mem: 30Gi
    cpu:
      # the number of CPU vcores
      vcore: 6
  cpu-machine:
    mem: 30Gi
    cpu:
      vcore: 6

machine-list:
  - hostname: master # name of the machine, **do not** use upper case alphabet letters for hostname
    hostip: 172.17.2.106
    machine-type: master-machine # only one master-machine supported
    pai-master: "true"
  - hostname: worker
    hostip: 172.17.2.107
    machine-type: cpu-machine
    pai-worker: "true
设置pip清华源
参考https://mirrors-i.tuna.tsinghua.edu.cn/help/pypi/
pip config set global.index-url https://pypi.tuna.tsinghua.edu.cn/simple安装scheme,kubenetes(解决安装k8s报错)
pip install schemepip install kubernetes解决error: command ‘x86_64-linux-gnu-gcc‘ failed with exit status 1
apt-get install build-essential python3-dev libssl-dev libffi-dev libxml2 libxml2-dev libxslt1-dev zlib1g-dev安装kubespray
cd pai/contrib/kubespray
/bin/bash quick-start-kubespray.sh -v
安装openPai
/bin/bash quick-start-service.sh打开 openPai
http://${mapter-ip}
其他
启动dev-box-quick-start 容器,用于管理集群
docker run -itd \
        -e COLUMNS=$COLUMNS -e LINES=$LINES -e TERM=$TERM \
        -v /var/run/docker.sock:/var/run/docker.sock \
        -v ${HOME}/pai-deploy/cluster-cfg:/cluster-configuration  \
        -v ${HOME}/pai-deploy/kube:/root/.kube \
        -v /home/tt/pai:/mnt/pai \
        --pid=host \
        --privileged=true \
        --net=host \
        --name=dev-box-quick-start \
        openpai/dev-box:v1.8.0
进入容器
docker exec -it dev-box-quick-start bash获取集群ID
cd /pai
./paictl.py config get-id
# 将集群中正在使用的设置拉取到一个文件夹中
# 集群设置文件夹包含三个文件: config.yaml, layout.yaml 和 services-configuration.yaml
# 其中 config.yaml 在 v1.7.0 版本之前存储于 ~/pai-deploy/cluster-cfg/config.yaml
# 如果 <config-folder>中已经有这三个文件了,老的文件将会被覆盖
./paictl.py config pull -o <config-folder>

# 将文件夹中的配置上传到集群内
# 集群设置文件夹应该包含三个文件: config.yaml, layout.yaml 和 services-configuration.yaml
# 其中 config.yaml 在 v1.7.0 版本之前存储于 ~/pai-deploy/cluster-cfg/config.yaml
# 只有被成功上传的配置才会被应用
./paictl.py config push -p <config-folder> -m service

# 停止所有PAI服务
./paictl.py service stop

# 启动所有PAI服务
./paictl.py service start

# 停止某些PAI服务
./paictl.py service stop -n <service-name-1> <service-name-2>

# 启动某些PAI服务
./paictl.py service start -n <service-name-1> <service-name-2>
修改webportal并打包
构建docker镜像(1,记得把webportal.common.dockerfile挪到上级目录,命令最后一个点别忘了)
docker build -t webportal-ab:v1 -f webportal.common.dockerfile .
构建docker镜像(2)
python build/pai_build.py build -s webportal -c /cluster-configuration/
docker 打标签
docker tag webportal:lateset abdulla1992/webportal-ab:v12
推送镜像
docker push abdulla1992/webportal-ab:v13
直接编辑k8s容器启动脚本
kubectl edit ds webportal-ds
其他问题
1.ssh 卡住
重启所有节点ssh 服务
systemctl ssh restart
评论 (0)